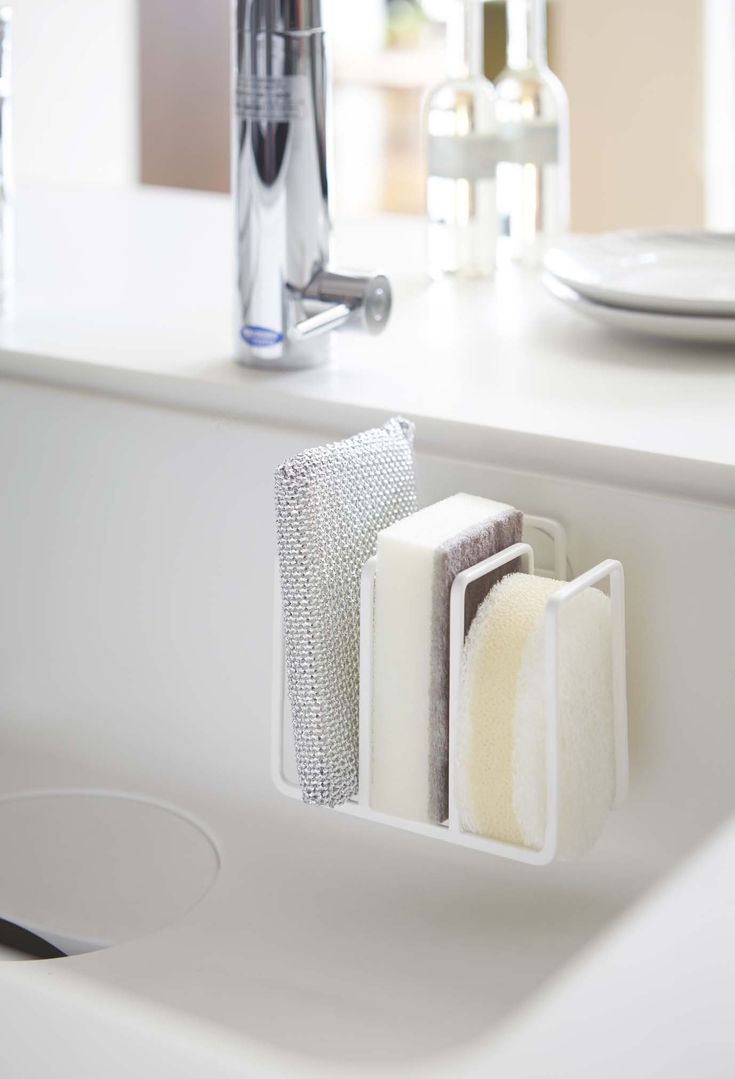
In daily life, sponges are an integral part of our kitchen and cleaning toolbox. However, over time, sponges can become a breeding ground for bacteria and dirt, posing potential risks to our health if not properly cleaned and maintained. Therefore, it is crucial to learn how to keep your sponge clean. Next, let’s explore some simple but practical ways to ensure your sponges are always clean and hygienic.

image from baidu.com
After each use of the sponge, place it under the faucet, turn on the hot water, and let the clear water fully rinse every corner of the sponge. Gently press the sponge with your fingers to ensure that the water flows smoothly into the interior of the sponge to remove any remaining food particles, residual soap, or other dirt. The temperature of hot water can help kill bacteria and soften the grease and dirt attached to the sponge, making the cleaning effect more thorough. Keep rinsing the sponge until the water runs clear. This will ensure the sponge is thoroughly clean and ready for the next use.
Microwave Method
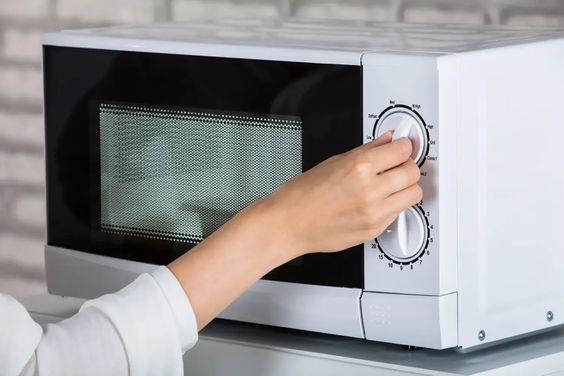
image from Simple Life of a Lady
After making sure the sponge is thoroughly moistened, carefully place it in the microwave. Select the high temperature setting of your microwave and set the timer for 1 to 2 minutes to ensure the sponge is fully heated. This process will generate enough heat to kill bacteria and other microorganisms that may be present on the sponge. Note that it is important to keep the sponge moist, as a dry sponge may catch fire during the microwave process.
Boiling Water
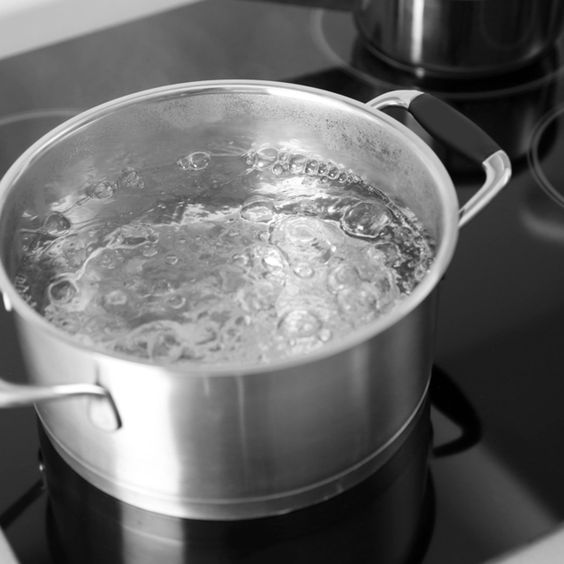
image from Family Handyman
You can choose to immerse the sponge completely in the boiling water and let it simmer in the boiling water for a few minutes. This high-temperature treatment can effectively kill bacteria on the sponge. However, this process must be carried out with extreme caution. Use tongs or a kitchen utensil to place the sponge into the hot water. Avoid touching the hot water or hot sponge directly with your hands to avoid burns. Also, ensure adequate ventilation to prevent burns from hot steam.
Dishwasher
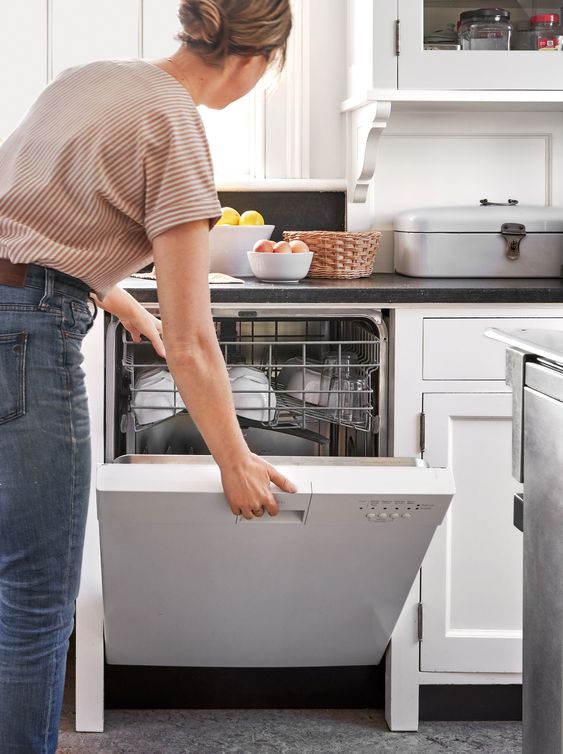
image from Martha Stewart
Place the sponge in the dishwasher along with your bowls and other utensils on the hot water cycle to wash and sanitize. Make sure you place the sponge on the top rack of your dishwasher or in a suitable location to ensure it can be adequately cleaned and sanitized. Choose a high temperature or sanitize cycle on your dishwasher to ensure it provides enough heat to kill bacteria and other microorganisms on the sponge. Once the dishwasher has completed its cycle, remove the sponge and allow it to dry completely to ensure bacteria do not have a chance to re-grow. Not only is this method convenient, it also ensures that the sponge is thoroughly cleaned, giving you a more hygienic kitchen environment.
Bleach Solution
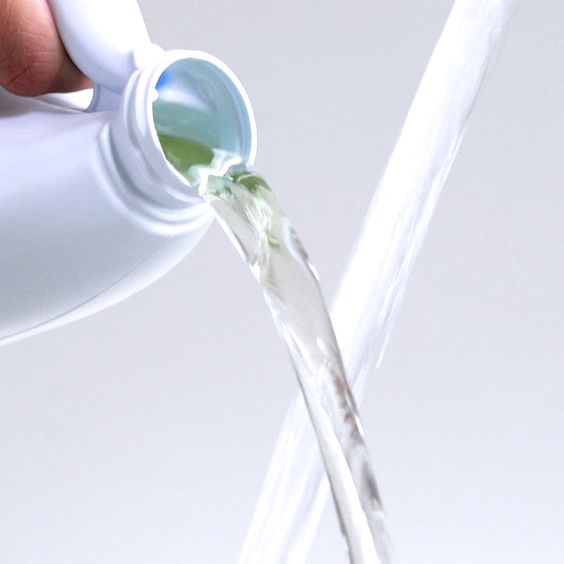
image from Clorox
Dilute an appropriate amount of bleach into water at a ratio of 1:9 to ensure that the mixture is not too thick. Next, fully soak the sponge in this bleach solution to allow it to fully absorb the disinfecting effects. This bleach solution has powerful disinfecting capabilities and can effectively kill bacteria and other microorganisms on sponges. However, it is important to use caution when using bleach to avoid contact with skin or eyes and make sure to do so in a well-ventilated area. Let the sponge soak in the bleach solution for 5 minutes to ensure it is thoroughly disinfected. Once done, remove the sponge and rinse thoroughly with clean water to remove any bleach residue. Make sure the rinsing process is thorough to avoid any chemical residue the next time you use it.
Vinegar Soak
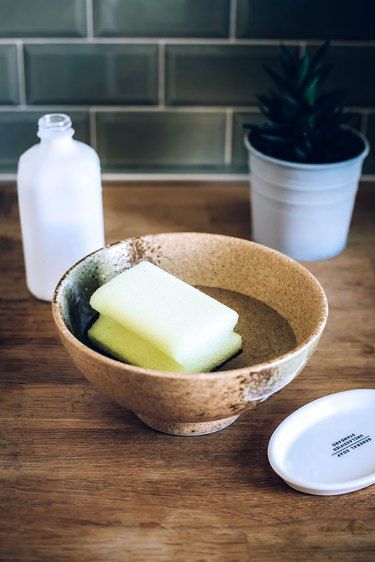
image from Hunker
Soak the sponge completely in white vinegar to allow it to fully absorb the vinegar’s antibacterial properties. White vinegar is a natural cleaner with powerful antibacterial and disinfectant effects that can effectively remove bacteria and other microorganisms from sponges. Soaking your sponge in white vinegar for a few hours will ensure it’s fully disinfected. White vinegar also removes odors and stains, leaving your sponge looking new again. Once you’ve finished soaking, remove the sponge and rinse it thoroughly with clean water to remove any remaining vinegar smell and residue.
Replace Regularly
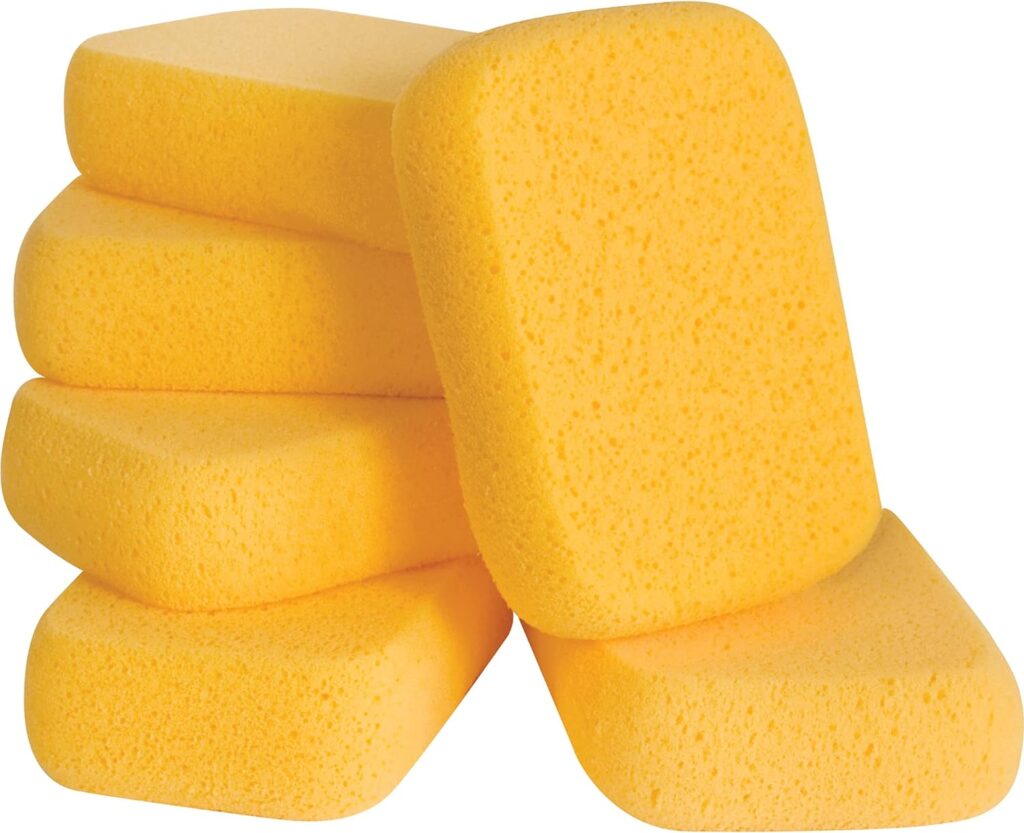
image from amazon
No matter what cleaning measures you take, sponges will eventually wear out over time and lose their original cleaning effectiveness. Therefore, it is recommended that you replace your sponge regularly to ensure that your cleaning tool remains efficient and hygienic. It is generally recommended to replace the sponge every 1-2 weeks to ensure you are always using a fresh, clean sponge. Also consider replacing your sponges when they start to smell, show signs of dirt, or no longer look suitable for cleaning. These are all signs that the sponge has lost its cleaning effect. Replacing it in time can ensure that your cleaning work is always on schedule and avoid cross-contamination or poor cleaning results caused by using dirty sponges.
Use Separate Sponges
To minimize cross-contamination and ensure cleaning results, it is recommended that you use different sponges for different cleaning tasks. For example, you could have one sponge specifically for washing dishes and another specifically for wiping down countertops and other surfaces. This practice effectively prevents the spread of germs and dirt between surfaces, ensuring your cleaning is more thorough and hygienic.
Dedicating a sponge specifically for dishwashing will ensure that you can effectively remove grease and food particles while washing dishes, and keep your dishes clean. On the other hand, using a different sponge for wiping countertops and other surfaces will prevent you from carrying bacteria and grease from the dishwashing sponge to other areas of your kitchen, keeping countertops and other surfaces sanitary.
Air Dry
After cleaning, place the sponge in a well-ventilated area to dry completely. Bacteria love moist environments, so keeping your sponge dry between uses can help prevent bacterial growth.
Store Properly

image from pinterest
Store the sponge in a dry, clean place with adequate ventilation. Avoid placing it in a closed container or humid environment as this may encourage bacterial growth.
Keeping your sponge clean will not only protect you and your family from germs, but it will also extend the life of your sponge and ensure it performs its cleaning duties effectively. By rinsing, disinfecting, and replacing sponges regularly, you can maintain a clean, hygienic kitchen environment and contribute to a healthy life. Be sure to remember these simple steps and make them part of your daily routine to ensure your sponges always stay clean and hygienic.