With Valentine’s Day approaching, are you really not planning to make some Valentine’s cookies yourself? Decorating crispy cookies with pink frosting is simply the perfect Valentine’s Day gift, whether it’s for your partner, friends, or as a delightful pre-dinner treat at home. Paired with a cup of coffee, it’s a simple yet delightful afternoon tea biscuit.
Equipment
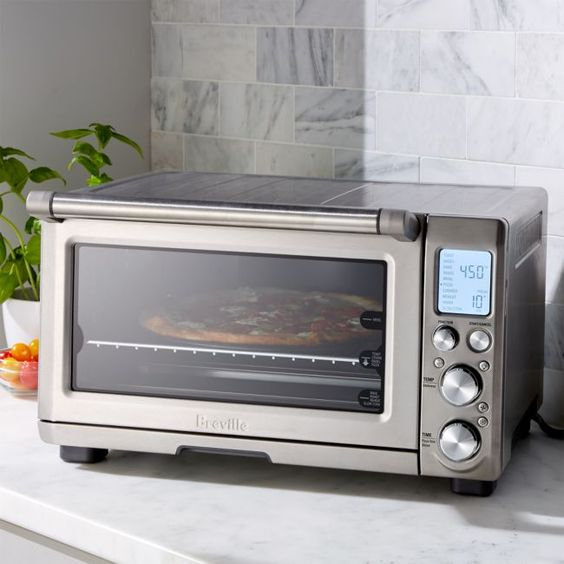
Oven
Heart-shaped mold


Image From Amazon
How to make it
Preheat the oven
Preheat the oven to 180 degrees Celsius.
Mix dry ingredients
In a large bowl, mix flour, salt, and baking powder. Stir well to ensure even distribution.
Cream butter and sugar
In another large bowl, use a mixer to cream the softened butter and sugar until light and fluffy.
Add egg and vanilla
Add the large egg, then add vanilla extract. Continue to mix until well combined.
Add dry ingredients
Gradually add the dry ingredients to the wet ingredients, continuing to mix until a uniform dough forms.
Divide and color
Divide the dough into two portions. Add food coloring to one portion, stirring well to color the dough.
Chill the dough
Wrap each portion of dough in plastic wrap and refrigerate for 30 minutes to firm up.
Roll out the dough
Preheat the oven to 180 degrees Celsius. Remove the dough from the refrigerator and roll it out to the desired thickness.
Cut shapes
Using heart-shaped or other Valentine’s-themed cookie cutters, cut out your preferred shapes.
Bake
Place the cut-out cookies on a baking sheet and bake in the preheated oven for 10-12 minutes or until the edges of the cookies are slightly golden.
Make icing
During the icing process, you can color it according to your preference. Spread the icing on the completely cooled cookies.
Decorate
Add personality to the cookies using candies, chocolate chips, or other decorations.
Tips
Softening the butter in advance: Take the butter out ahead of time to ensure it softens completely to room temperature. This ensures a light and fluffy texture during mixing, contributing to the cookies’ delightful mouthfeel.
Gradually add dry ingredients: When mixing the dough, gradually add the dry ingredients to the wet ones to avoid large lumps of dough. This helps in achieving a uniformly mixed dough, making it easier to roll out.
Chill the dough: Wrap the divided dough in plastic wrap, ensuring it’s well-sealed, and refrigerate. This not only enhances the cookie’s texture but also makes the dough easier to handle.
Monitor oven temperature: Preheat the oven to 180 degrees Celsius in advance. Ensure a stable oven temperature to evenly heat the cookies, resulting in golden edges.
Allow icing to dry completely: Before adding icing and decorations, ensure the cookies are completely cooled. This prevents the icing from running and ensures the decorations remain aesthetically pleasing.
Avoid over-baking: Keep an eye on the baking time to avoid over-baking. Baking time may vary depending on the oven model, so make sure to take them out when the edges are lightly golden.
Be careful when decorating: Exercise caution when using chocolate, candies, or other decorations. Ensure they adhere securely to the icing to prevent them from falling off during storage or consumption.
After completing this batch of cookies, I believe you must be eagerly anticipating the arrival of Valentine’s Day. The baking process is not complicated, and this small gesture contains your care and love. I hope that in this romantic season, you can share these thoughtfully crafted sweet treats with your family and friends. Whether it’s enjoying a cup of hot tea with your significant other or reminiscing sweet memories with friends, these little cookies will become symbols of love, allowing people to feel warmth and friendship in simple desserts.
