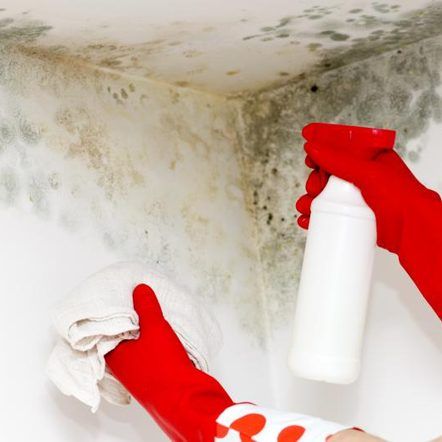
Mold often appears on the walls of many people’s homes. What is the reason? There are many reasons for mold on the wall, such as rainwater infiltration, decoration, poor waterproofing, environmental factors or long-term lack of ventilation in the room, etc. Mold spores can easily breed and spread when they encounter the right environment.
The growth of mold not only affects the appearance of the wall, but may also endanger the health of family residents. In this professional guide, we’ll provide you with detailed steps and essential tools to help you effectively clean mold from your walls and create a fresh and healthy living environment.
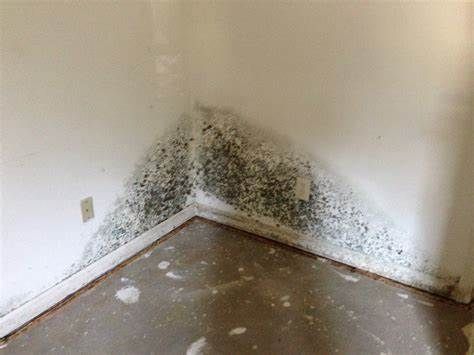
image from zen.homezada.com
Develop a Cleanup Plan
Based on the assessment results, a cleanup plan is developed. Consider the extent of the cleanup, the time required and the cleaning agents used.
When the wall has just appeared mold, we can first use a dry toothbrush or brush to brush away the mold stains, and then use a clean rag dipped in alcohol to gently wipe (in the case of mold is not too serious, the use of 80% alcohol will be completely sufficient), which will allow the wall to dry quickly and prevent mold from growing again. Tip: As long as you clean up the mold on the walls, be sure to wear a protective mask, eye protection, protective gloves to protect yourself from mold.
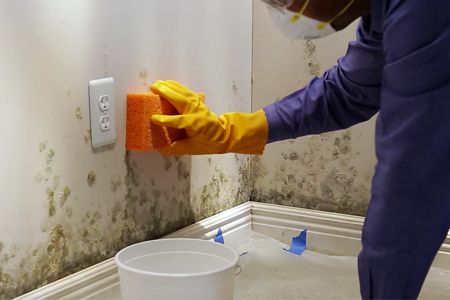
image from True Value
If the mold caused by moisture, you can use bleach (powder) and water to the ratio of 1:99 blended well poured into the spray bottle, sprayed in the moldy places can immediately solve the problem of mold on the wall. Then wipe the wall with a clean fiber cloth and rinse with water (not too much water to prevent water from seeping into the wall). After the wall is dry, apply anti-mildew paint. This can effectively inhibit the growth of mold and prevent moisture for a long time. At the same time, during the humid weather, try to open the window as little as possible, keep the wall dry. You can also can take the help of a dehumidifier to remove moisture from the house.
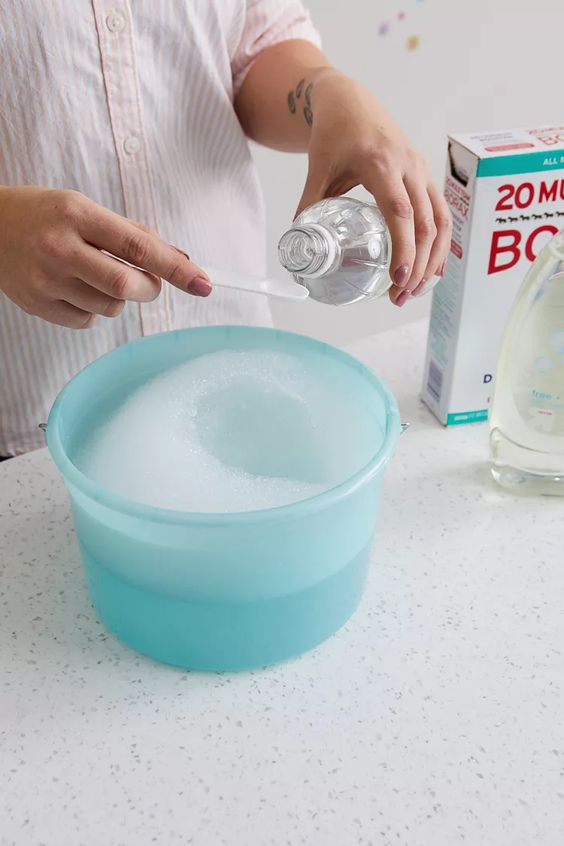
image from Better Homes and Gardens
Mold Removal Guide
Preparation
Before you start cleaning, make sure you have the following tools and items:
- Personal protective equipment: Wear an N95 mask, rubber gloves, and goggles to protect yourself from mold and cleaning agents.
- Mold cleaning agent: used to clean mold and prevent mold from growing again.
- Microfiber cloth.
- Brush.
- Ventilation: Open windows and ensure adequate ventilation of the cleaning area to eliminate harmful gases generated during the cleaning process.
Clean the walls
Use a vacuum cleaner
Use a vacuum cleaner with a HEPA filter to clean away dust and debris near the mold.
Scrub the walls
Using a brush and a professional mold cleaner, scrub the affected walls carefully. Make sure to cover the entire affected area. Remember, after you apply mold cleaner to the wall, be sure to let the wall dry to ensure that the cleaner can completely kill the mold.
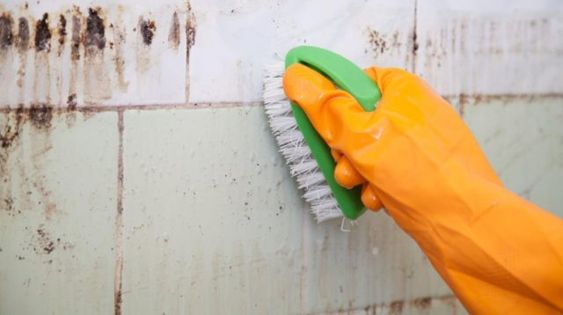
image from cleanwaterpartners.org
Check for residual mold
Once the wall is completely dry, check the area to see if there is any residual mold, and if so, go ahead and repeat the previous step.
Clean the wall
Use a clean fiber cloth dipped in water to clean the wall to remove stains.
Air quality control
After cleaning is complete, use an air purifier and dehumidifier to improve air quality and prevent mold from growing again.
How to prevent mold on your walls:
Purchase indoor desiccant and place it indoors to effectively remove indoor moisture. The desiccant must be replaced immediately after its active ingredients are used up.
Open windows frequently for ventilation and maintain indoor air circulation.
Repair leaky pipes and roofs promptly to avoid creating a comfortable environment for mold.
Cleaning up mold is a complex task that needs to be done with caution. Follow the steps above and be sure to use the appropriate personal protective equipment to ensure an efficient and safe cleanup process. During the cleaning process, if you encounter a large area of mold, it is recommended to seek professional cleaning services. Hopefully this guide will help you create a fresh, healthy home environment with ease.
